Thanks to Miss Shirley for showing us how to make a manger!

Supplies Needed:
- brown paper triangle
- circle of paper
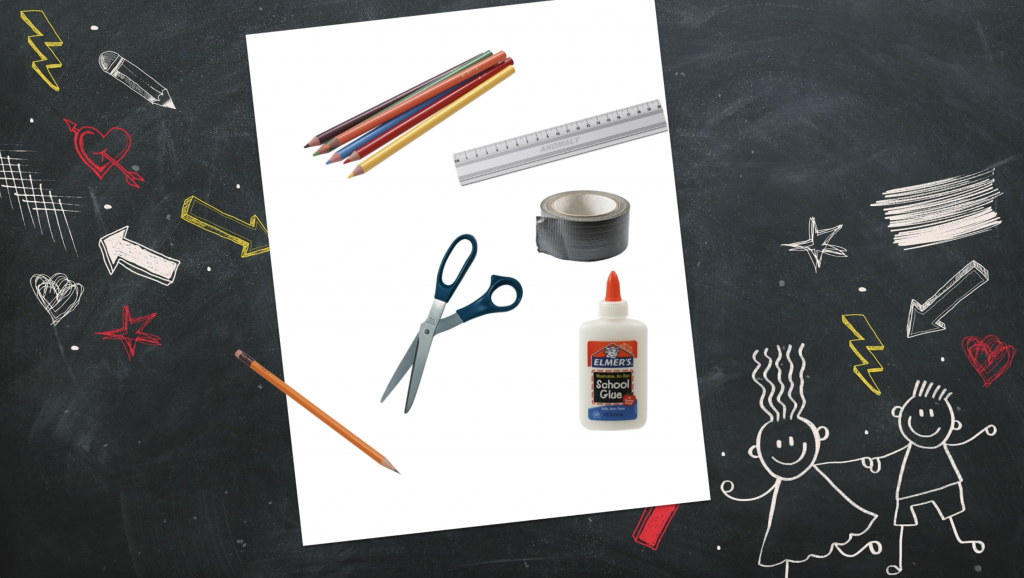
- two Popsicle sticks
- glue
- string
- marker
(You should have received supplies in a special Christmas mailing that went out in December)
- Add glue to the long sides of your triangle.
- Attach Popsicle sticks along the glued edges to form an X.
- Glue bottom half of the circle and attach to back side of the third edge of the triangle.
- Draw a face on the exposed part of the circle.
- Glue string to the top end of each Popsicle stick